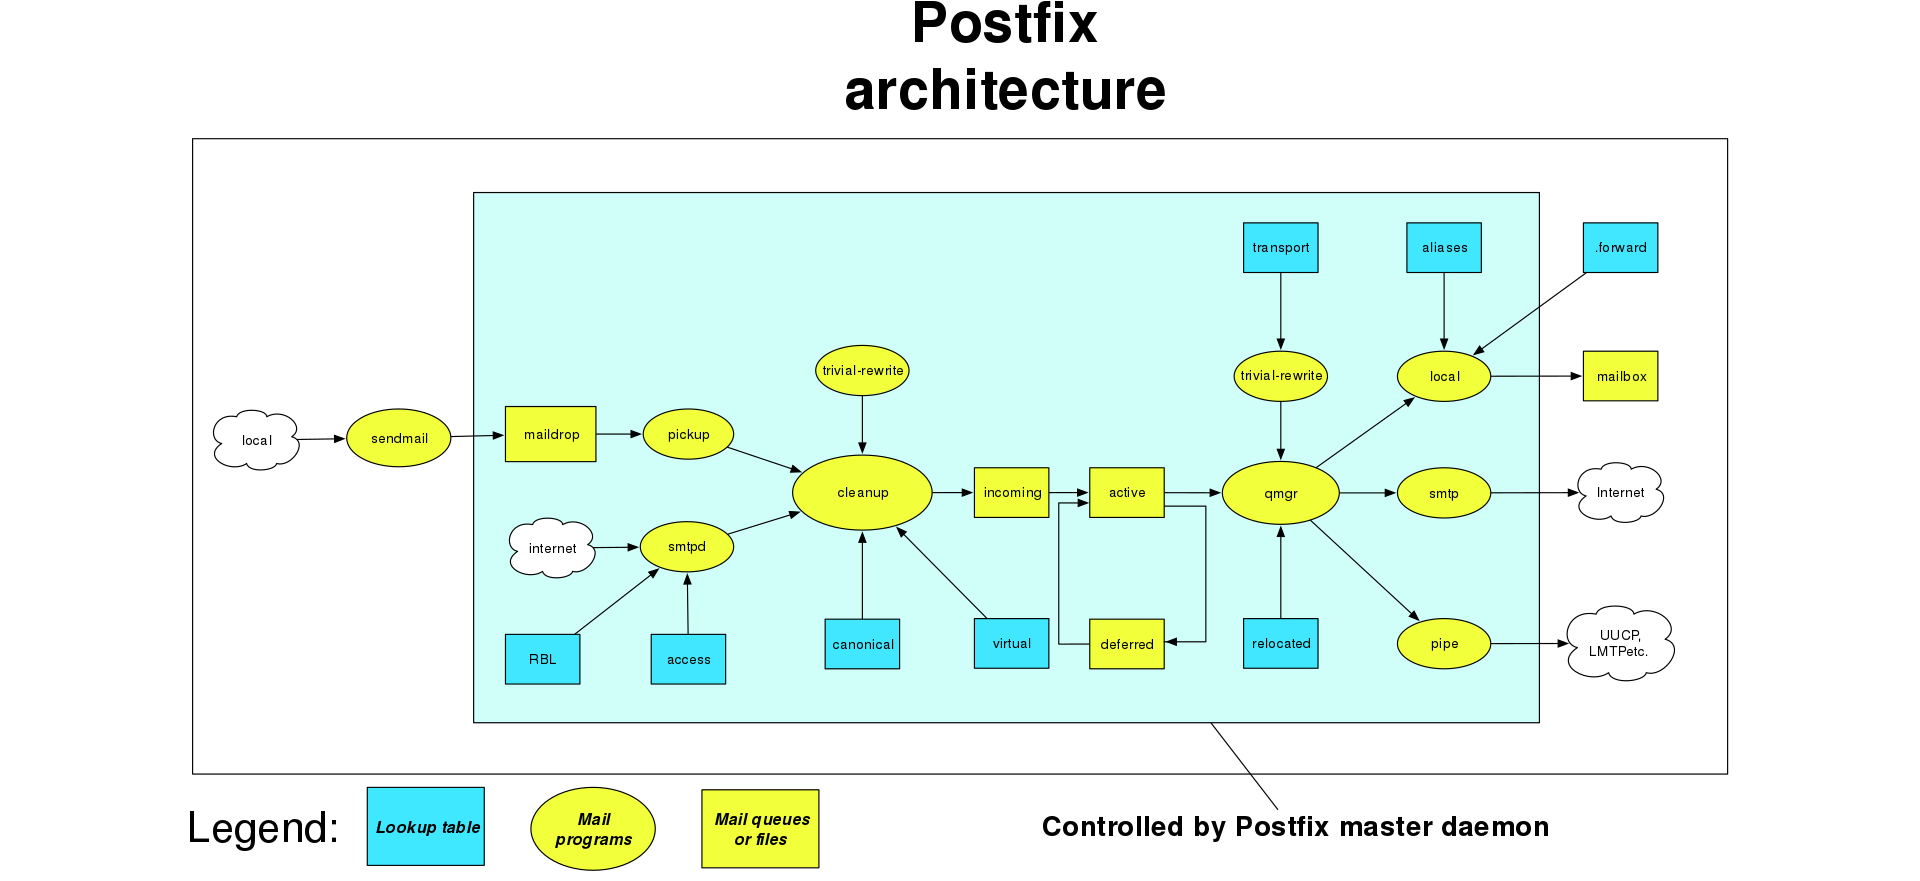
There are many reasons why you would want to configure Postfix to send email using an external SMTP provider such as Mandrill, SendGrid, Amazon SES, or any other SMTP server. One reason is to avoid getting your mail flagged as spam if your current server’s IP has been added to a spam list. Another very common reason would be being stuck behind port 25 (other ports included with some hosts) – host restricted, it’s becoming ever so common now due to the vulnerable nature of a mail-server being on such a common port. To name a few restricting hosts – Linode – Google Cloud.
In this tutorial, you will learn how to install and configure a Postfix server to send email through Mandrill, or SendGrid.
Prerequisites
Before starting this tutorial, you should have:
- Your fully qualified domain name (FQDN)
- All updates installed :
sudo apt-get update - A valid username and password for the SMTP mail provider, such as Mandrill, or SendGrid
- Make sure the libsasl2-modules package is installed and up to date:
sudo apt-get install libsasl2-modules
(All commands featured in this guide are intended for non-root users)
Installing Postfix
In this section, you will install Postfix and set the domain and hostname.
- Install Postfix with the following command:
sudo apt-get install postfix - During the installation, a prompt will appear asking for your General type of mail configuration.Select Internet Site.
- Enter the fully qualified name of your domain, fqdn.example.com.
- Once the installation is finished, open the
/etc/postfix/main.cffile with your favorite text editor:sudo nano /etc/postfix/main.cf - Make sure that the myhostname parameter is configured with your server’s FQDN:File: /etc/postfix/main.cf
1myhostname = fqdn.example.com
Configuring SMTP Usernames and Passwords
Usernames and passwords are generally stored in a file called sasl_passwd in the /etc/postfix/ directory. In this section, you’ll add your external mail provider credentials to this file and to Postfix.
If you want to use Mandrill, or SendGrid as your SMTP provider, you may want to reference the appropriate example while working on this section. For Google Apps and Gmail-specific settings (Scroll down)
Open or create the /etc/postfix/sasl_passwd file, using your favorite text editor:
sudo nano /etc/postfix/sasl_passwdAdd your destination (SMTP Host), username, and password in the following format:
File: /etc/postfix/sasl_passwd[mail.isp.example] username:passwordIf you want to use a port other than the default smtp port use the following format:
[mail.isp.example]:587 username:passwordCreate the hash db file for Postfix by running the postmap command:
sudo postmap /etc/postfix/sasl_passwdSecuring Your Password and Hash Database Files
The /etc/postfix/sasl_passwd and the /etc/postfix/sasl_passwd.db files created in the previous steps contain your SMTP credentials in plain text.
For security reasons, you should change their permissions so that only the root user can read or write to the file. Run the following commands to change the ownership to root and update the permissions for the two files:
sudo chown root:root /etc/postfix/sasl_passwd /etc/postfix/sasl_passwd.db
sudo chmod 0600 /etc/postfix/sasl_passwd /etc/postfix/sasl_passwd.db
Configuring the Relay Server
In this section, you will configure the /etc/postfix/main.cf file to use the external SMTP server.
- Open the
/etc/postfix/main.cffile with your favorite text editor:sudo nano /etc/postfix/main.cf - Update the relayhost parameter to show your external SMTP relay host. Important: If you specified a non-default TCP port in the
sasl_passwdfile, then you must use the same port when configuring the relayhost parameter.
File: /etc/postfix/main.cfrelayhost = [mail.isp.example]:5873. At the end of the file, add the following parameters to enable authentication:
File: /etc/postfix/main.cfsmtp_sasl_auth_enable = yes
smtp_sasl_security_options = noanonymous
smtp_sasl_password_maps = hash:/etc/postfix/sasl_passwd
smtp_use_tls = yes
smtp_tls_CAfile = /etc/ssl/certs/ca-certificates.crt3. Save your changes
4. Restart the post fix server – “sudo service postfix restart”
Walla. Job done.
OH! But what about configurations with other providers?
This section shows you settings for some popular mail services you can use as external SMTP servers. You may have to do some fine-tuning on your own to avoid Postfix logins being flagged as suspicious.
Settings for Mandrill
Use these settings for Mandrill.
- For
/etc/postfix/sasl_passwd, use the following configuration with your own credentials:
File: /etc/postfix/sasl_passwd[smtp.mandrillapp.com]:587 USERNAME:API_KEY2. For /etc/postfix/main.cf, use the following relayhost:
File: /etc/postfix/main.cfrelayhost = [smtp.mandrillapp.com]:5873. Create the hash db file for Postfix by running the postmap command:
sudo postmap /etc/postfix/sasl_passwd4. Restart postfix
sudo service postfix restartSettings for SendGrid
Use these settings for SendGrid.
- For
/etc/postfix/sasl_passwd, use the following configuration with your own credentials:
File: /etc/postfix/sasl_passwd[smtp.sendgrid.net]:587 USERNAME:PASSWORD2. For /etc/postfix/main.cf, use the following relayhost:
File: /etc/postfix/main.cfrelayhost = [smtp.sendgrid.net]:5873. Create the hash db file for Postfix by running the postmap command:
sudo postmap /etc/postfix/sasl_passwd4. Restart Postfix:
sudo service postfix restart5. Go enjoy.


